Exporting Flow Results

Exporting results from a single flow
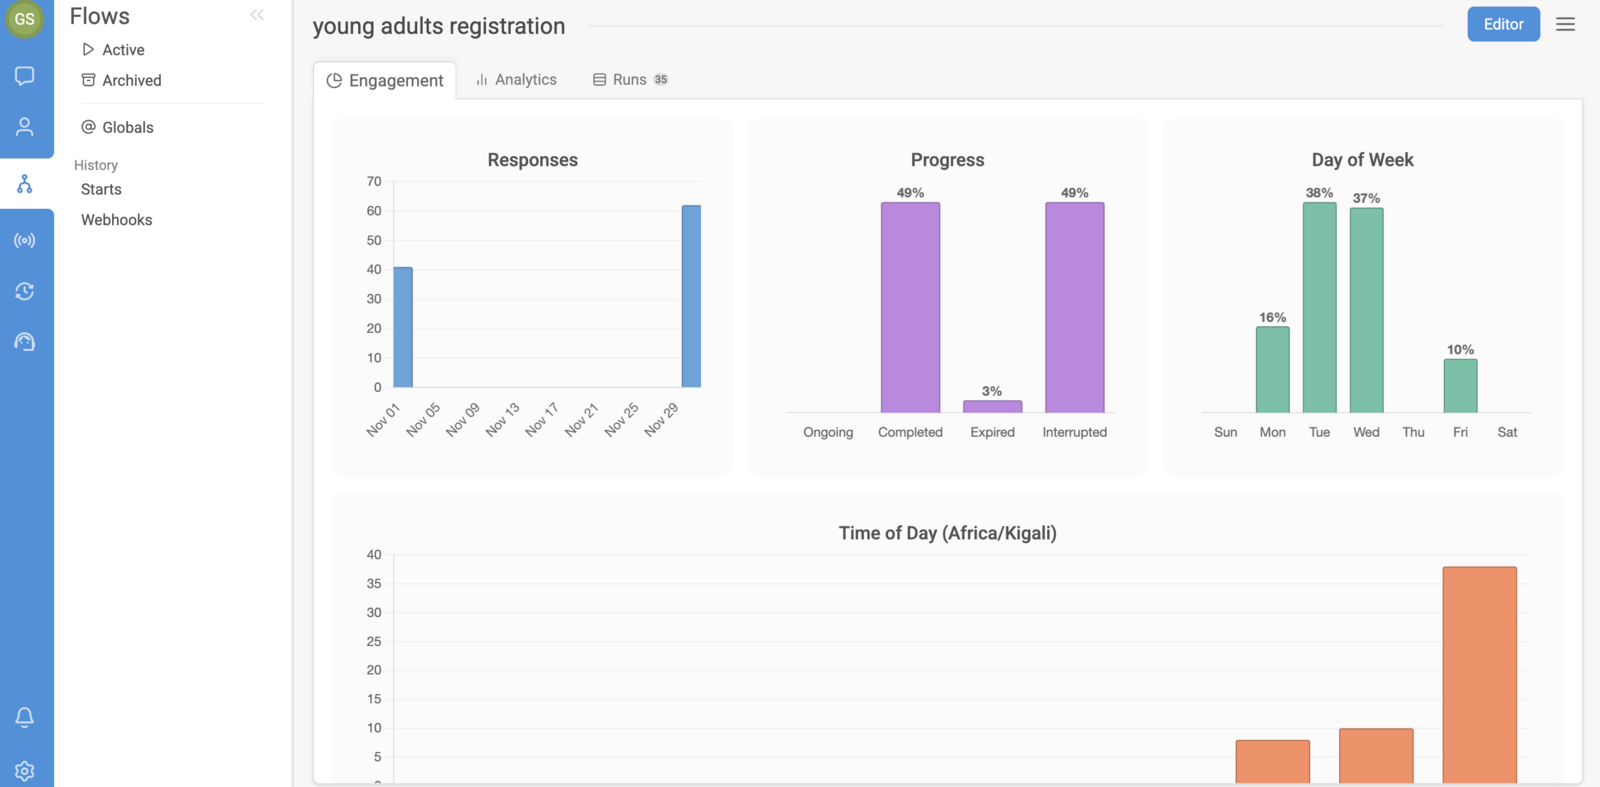
To retrieve results from a specific flow, begin by locating and choosing the relevant flow within the Flows section. Click the ☰ menu icon situated in the upper right corner, then select the “Results” option:

This action will direct you to the results page for your chosen flow. (Refer to our guide for assistance with interpreting these results).

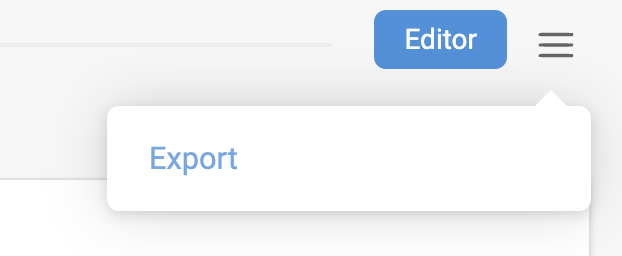
Choose the “Export” feature from the dropdown menu in the upper right corner:

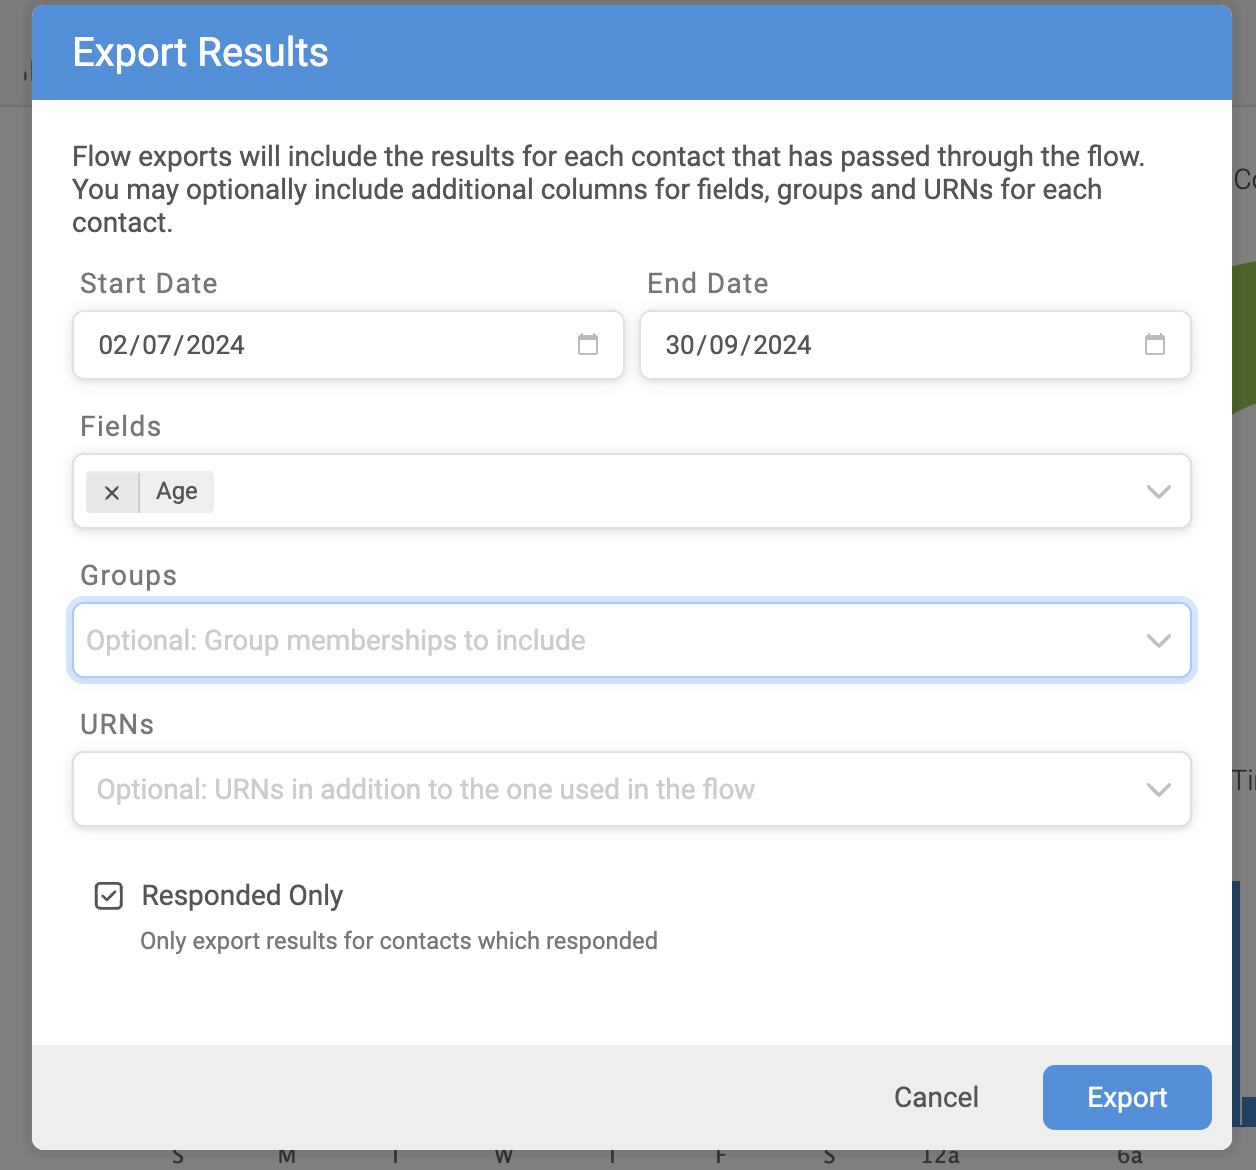
You will then see various options to specify which particular elements you want to include in your export.

Once you click “Export”, a confirmation message will appear, indicating that your file will be prepared and accessible in the Notifications area of your workspace.

You can find your completed export by accessing the Notifications panel in the lower left portion of your workspace:

Exporting results from multiple flows
For exporting data from several flows at once, start by navigating to the ‘Flows’ section. From the displayed list, mark the checkboxes next to all flows you want to include:

Then, select the download icon found above the list and indicate which data you wish to incorporate in your export. Choices comprise group affiliations, contact information fields, supplementary URNs, and an option to only include results from contacts who provided responses:


After selecting ‘Export’, a confirmation notice will appear at the top of the screen, informing you that the file will be ready in your Notifications once processing is finished.
Please be aware that the columns in your exported results will mirror the top-to-bottom sequence of your flow’s configuration.
For any questions, please reach out to us via the support widget located in the lower right-hand corner.
