Actions

A flow is a visual workflow that applies conditional logic to contacts upon entry. Once a contact enters a flow, they engage directly with its nodes. These nodes consist of actions and split actions, collectively determining the flow’s duration—which can range from a single node to an extensive sequence.
Actions
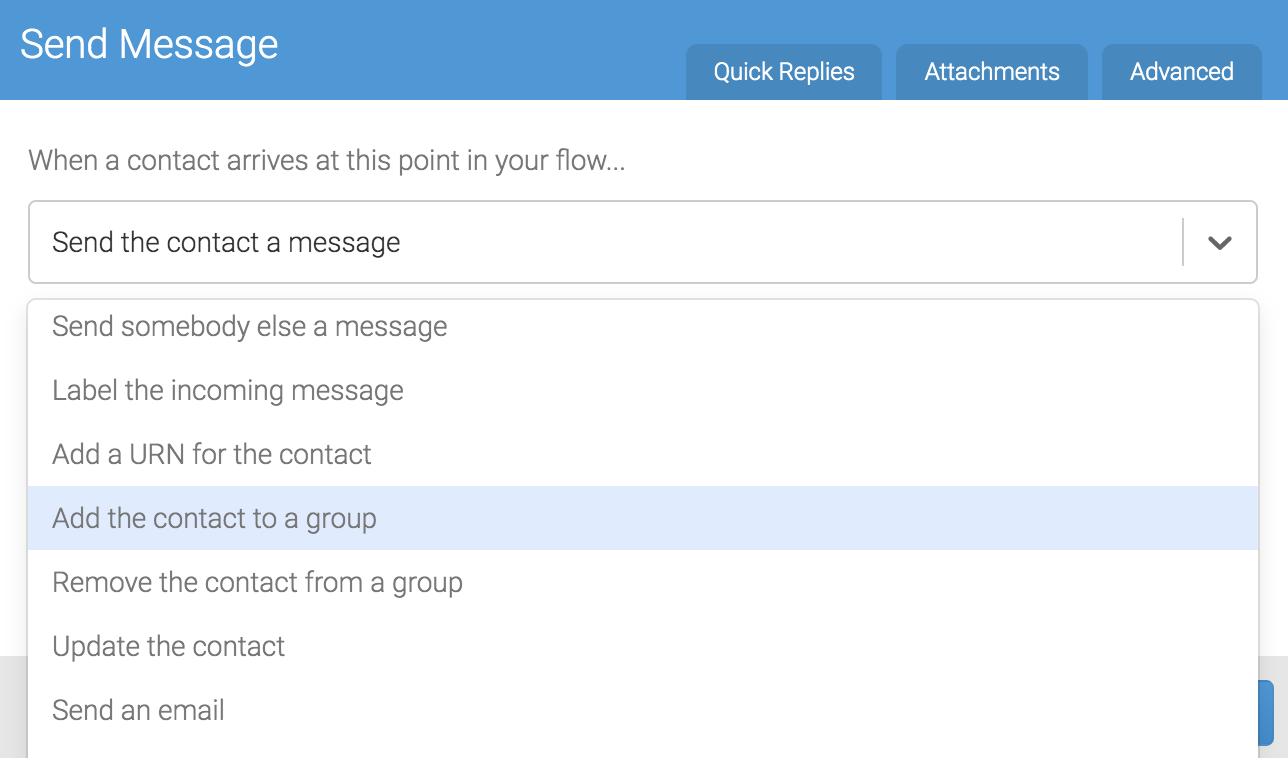
An action represents operations performed within your flow. Essentially, these commands enable you to:
-
Send a Message (delivers a message and/or media attachment to contacts reaching that node)
-
Send a Message to Someone Else (outside the current interaction)
-
Add or Update Contact Fields (using values from responses)
Actions consist of nodes that execute immediately in sequential order from top to bottom.
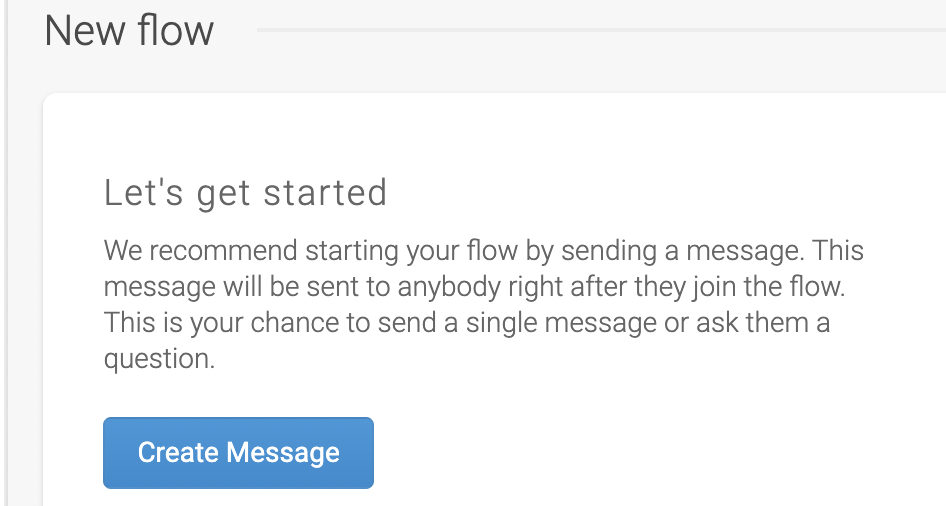
When creating a new flow, the system typically recommends beginning with a message—an example of an action.
Creating an Action
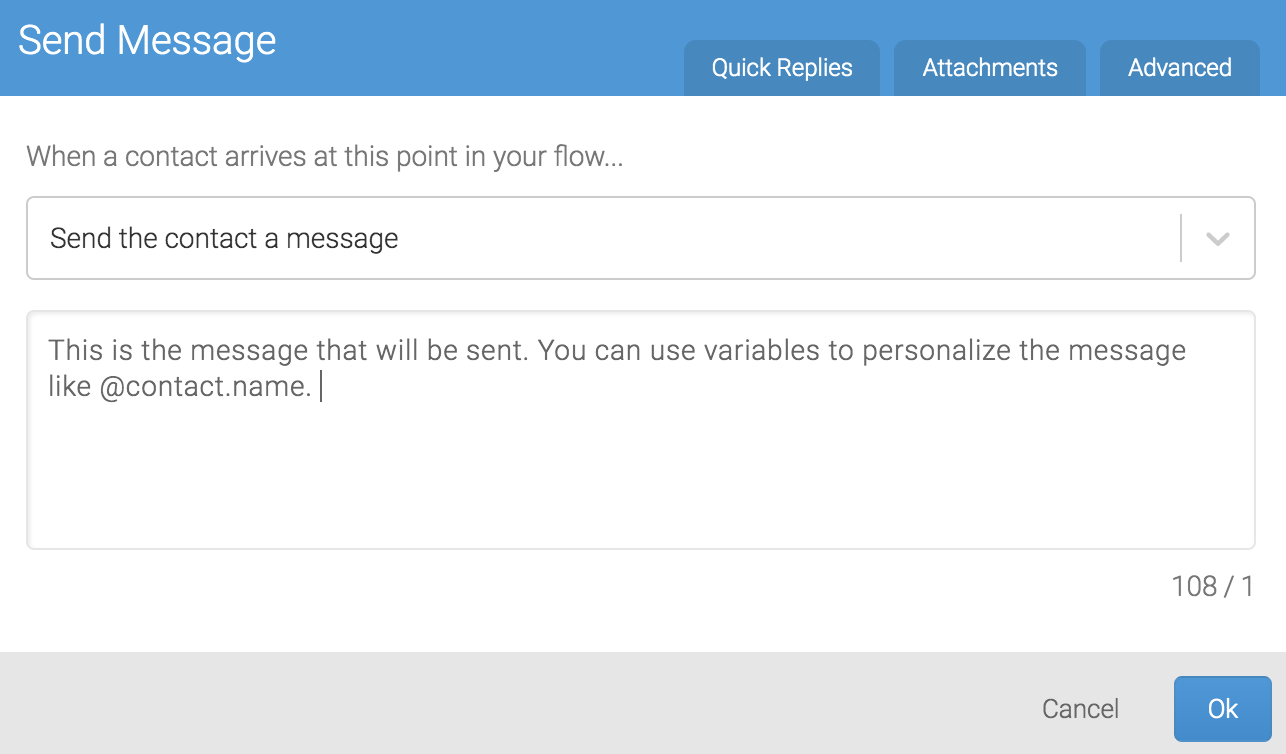
Click the “Create Message” button to access the node editor shown below.
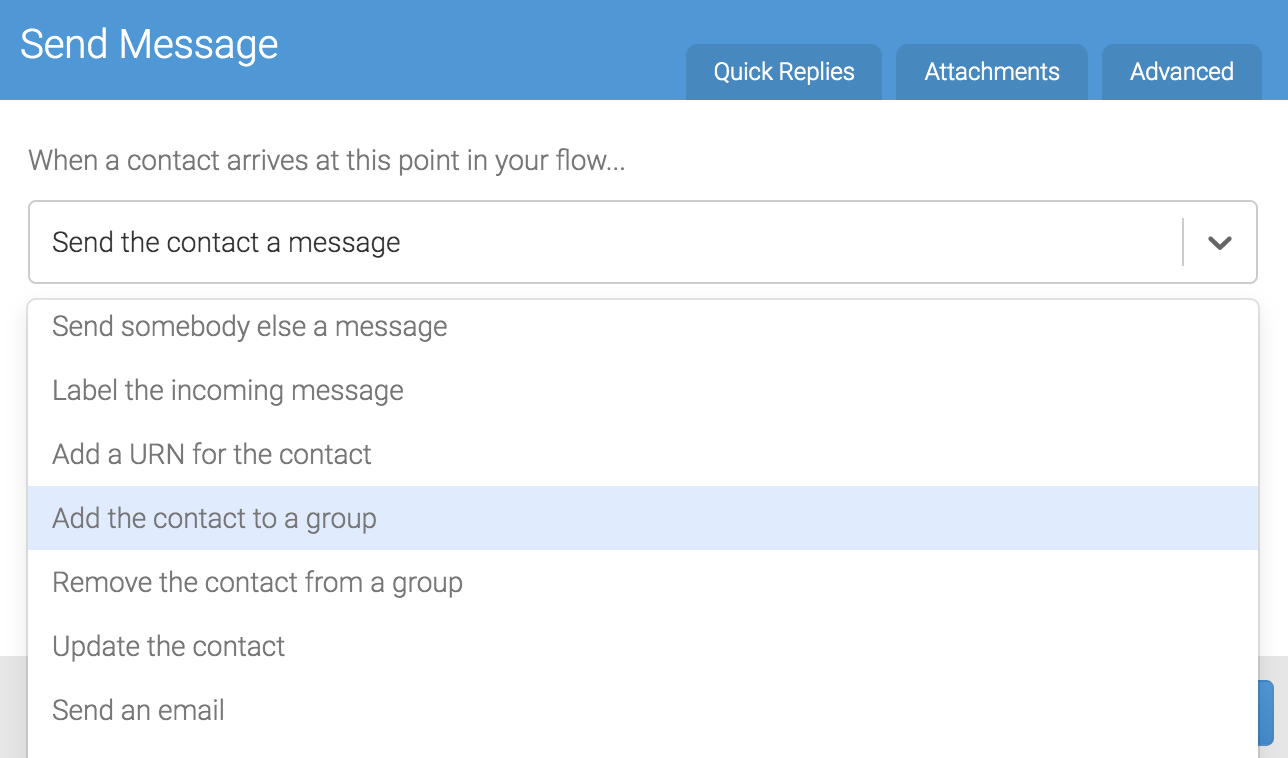
Adding an Action to an Existing Node
Actions can either attach to other nodes or stand independently. When attached to nodes, they execute immediately in top-to-bottom sequence.
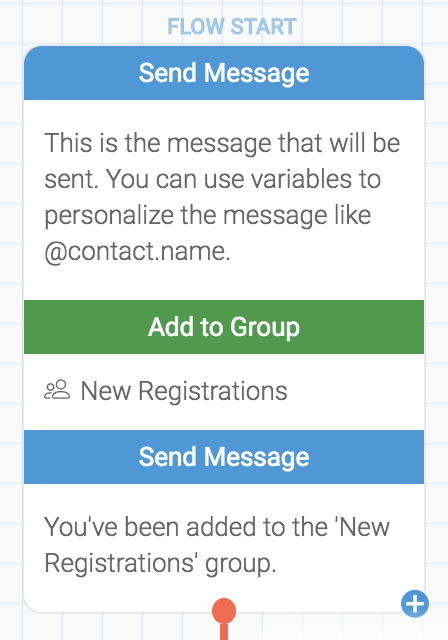
In the following example, three actions combine to register a new patient. When a contact progresses through this node series, the actions occur in their stacked order:
-
An email notifies our medical team of the new registration
-
The contact joins the “New Registrations” group
-
A message requests the contact’s due date using the Send Message action
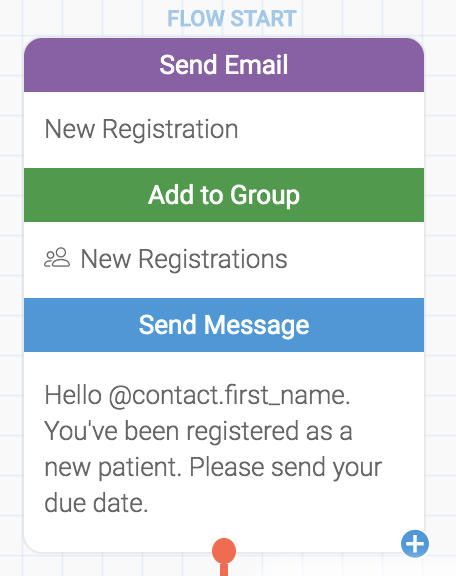
To add an action to an existing node, select the blue “+” symbol in the bottom right corner of the node and choose an action from the new node’s dropdown menu.
Modifying Action Order Within a Node
To rearrange actions within a node series, position your cursor over the top left corner of the desired action and click the ^ icon.
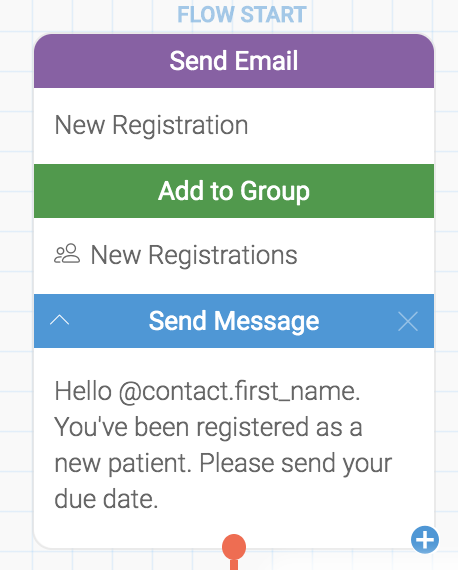
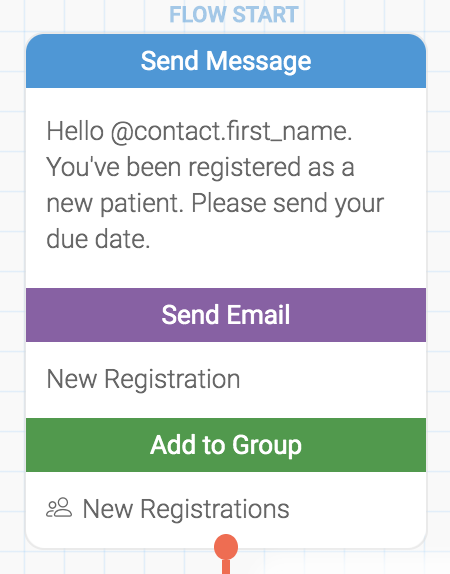
In this example, we moved Send Message to the beginning of the action sequence, ensuring it sends before the Send Email and Add to Group actions.
Removing an Action
To delete an action, hover over the target node and click the × icon. The node will turn red and request confirmation. Click the × icon again to complete the deletion.
Note: You can test any action sequence using the simulator before implementation.
Questions? Contact us via the support widget in the lower right corner.
